
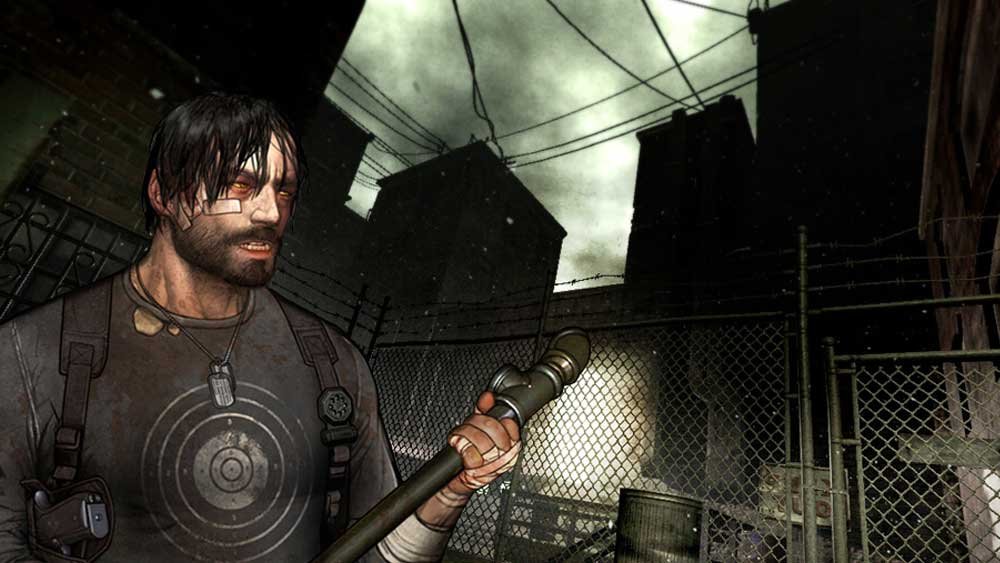
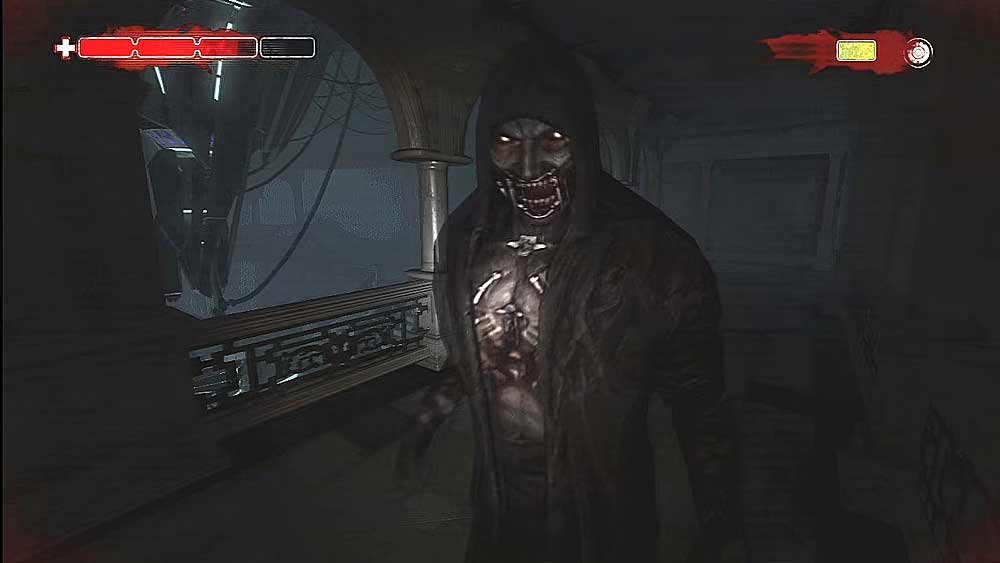
Originally released in 2008 for Xbox 360 and PlayStation 3, Condemned 2: Bloodshot remained “trapped” on seventh-generation consoles for years. Although running it on PC via emulators like Xenia or RPCS3 was possible, players frequently faced performance issues, severe graphical bugs (such as flashlight and UV light rendering glitches), and processing bottlenecks.
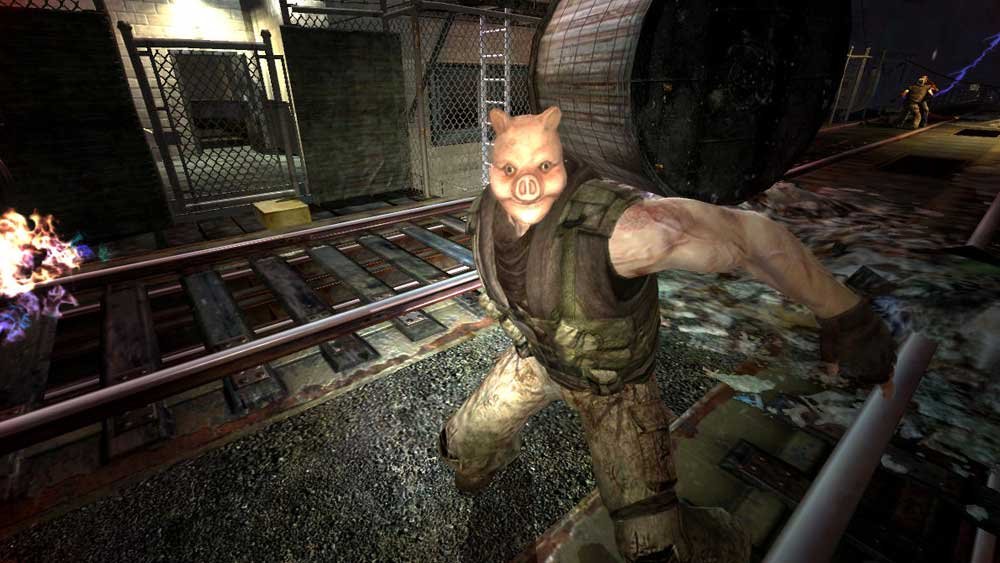
Recently, the game preservation community launched Condemned2Recomp—a reverse-engineering (recompilation) project that translates the game’s original code to run directly and 100% natively on Windows.
In this guide, you will learn the complete step-by-step process to set up and play the native PC port of Condemned 2 on your computer.
Why Choose the Native Port Over Emulators?
Unlike traditional emulation—which has to simulate the console’s entire hardware stack in real-time—the recompiled port executes game instructions directly on your GPU and CPU.
Key Advantages:
- No Lighting Glitches: Fixed the classic UV light and flashlight rendering bugs.
- Superior Performance: Stable frame rates (FPS), near-instant load times, and native ultrawide support.
- Lower System Requirements: Runs smoothly without requiring an ultra-high-end gaming PC.
Prerequisites
To complete the setup process, you will need:
- Port Executable Files (Condemned2Recomp): Download the latest compiled release directly from the official GitHub repository:
[https://github.com/psxrestore/Condemned2Recomp](https://github.com/psxrestore/Condemned2Recomp) - Game Media (Xbox 360 Version): A clean disc image (
.iso) of Condemned 2: Bloodshot. - Xbox 360 ISO Extraction Tool: Software such as
extract-xisoorxdvdfsto unpack the internal game files.
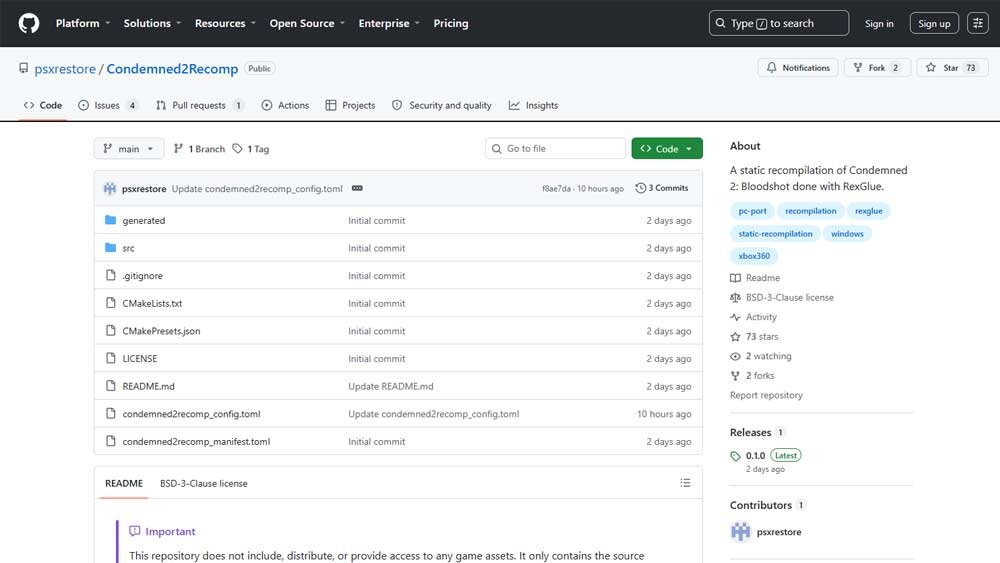
Legal Disclaimer: To comply with copyright laws, the project developers only supply the port’s custom engine/executable files. You must provide the game assets extracted from a legally owned copy of the original game.
Step-by-Step Installation
Follow the official repository’s exact instructions to structure the game files correctly:
Step 1: Extracting the Game ISO
- Use
extract-xisoorxdvdfsto extract all game content—including audio, textures, models, and map files—from your Xbox 360.isoimage into a temporary folder on your PC.
Step 2: Preparing the Port Folder
- Extract the
Condemned2Recompproject files into your chosen directory (for example,C:\Games\Condemned 2 PC). - Inside this same directory where the
condemned2recomp.exeexecutable is located, create a new folder named exactly:
Plaintext
Assets
Step 3: Transferring Game Files
- Select all extracted files and subfolders from your ISO (from Step 1) and move them into the newly created
Assetsfolder. - Your final directory structure should strictly resemble this layout:
Plaintext
C:\Games\Condemned 2 PC\
├── condemned2recomp.exe
├── condemned2recomp.toml
└── Assets\
    ├── (extracted ISO files and folders)
Step 4: Video Settings & Adjustments (Optional)
- To adjust display mode, resolution, or frame rate caps, open and edit the
condemned2recomp.tomlconfiguration file using Notepad before launching the game.
Step 5: Launching the Game
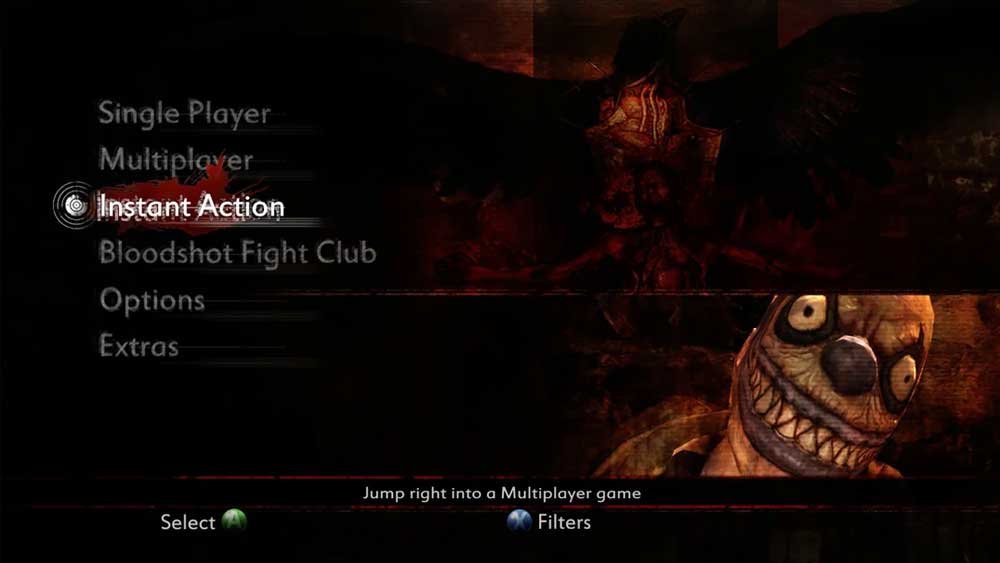
Double-click condemned2recomp.exe to boot the native PC port.
Controller Support & Keybindings
Recommendation: The project is currently optimized for controllers/gamepads (such as Xbox, DualShock, or DualSense). Native mouse and keyboard support remains in active development.
If you prefer playing with Keyboard & Mouse, refer to the default mapping below:
| Action | Key / Input |
| Movement | W A S D |
| Interact / Use | E |
| Aim / Left Attack | Left Mouse Button (LMB) |
| Shoot / Right Attack | Right Mouse Button (RMB) |
| Kick | Space |
| Reload | R |
| Sprint | Shift |
| Flashlight | F |
| Check Status / Item | H |
| Options Menu | F4 |
| Command Console | Single Quote (') or Backtick (`) |
Project Credits
The development of this native PC port was made possible thanks to the tools and dedication of the game preservation community:
- RexGlue-SDK
- Ghidra
- RenderDoc
- Project Repository:
psxrestore/Condemned2Recomp