
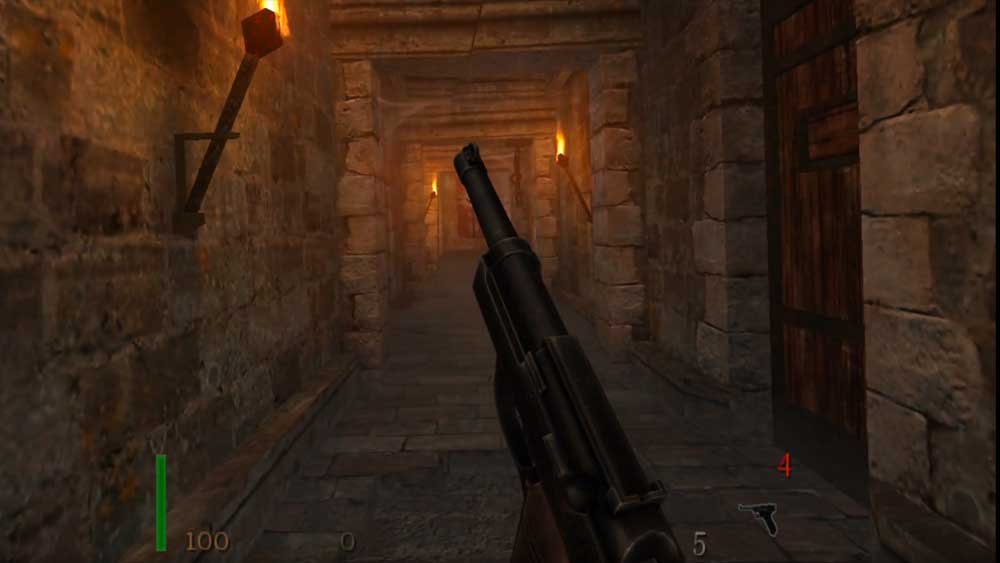
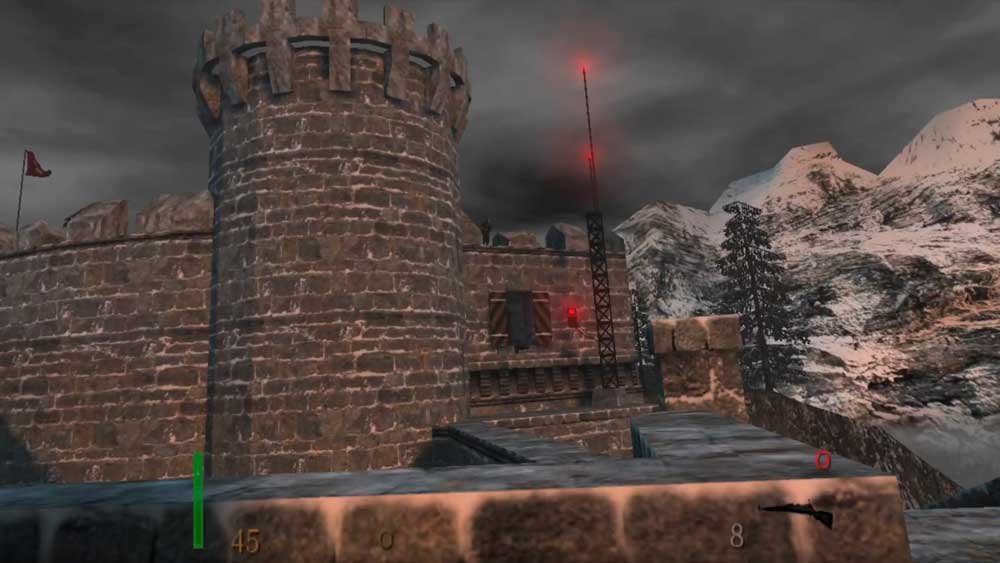
Return to Castle Wolfenstein (RTCW) is one of the greatest classics in first-person shooter history. Thanks to the work of the renowned Team Beef, you can relive the full single-player campaign in a fully untethered, immersive 6 Degrees of Freedom (6DoF) experience directly on your Oculus / Meta Quest.
Return to Castle Wolfenstein já era maneirasso; em VR deve ser outro nível. Port do Team Beef.#StandaloneVR #Wolfenstein #TeamBeef #idtech
— QG Reloaded (@QGReloaded) August 7, 2026
pic.twitter.com/Yf2b5Ptut1
This guide provides an updated step-by-step setup, direct download links, and a full overview of VR controls and settings.
Useful Links & Downloads
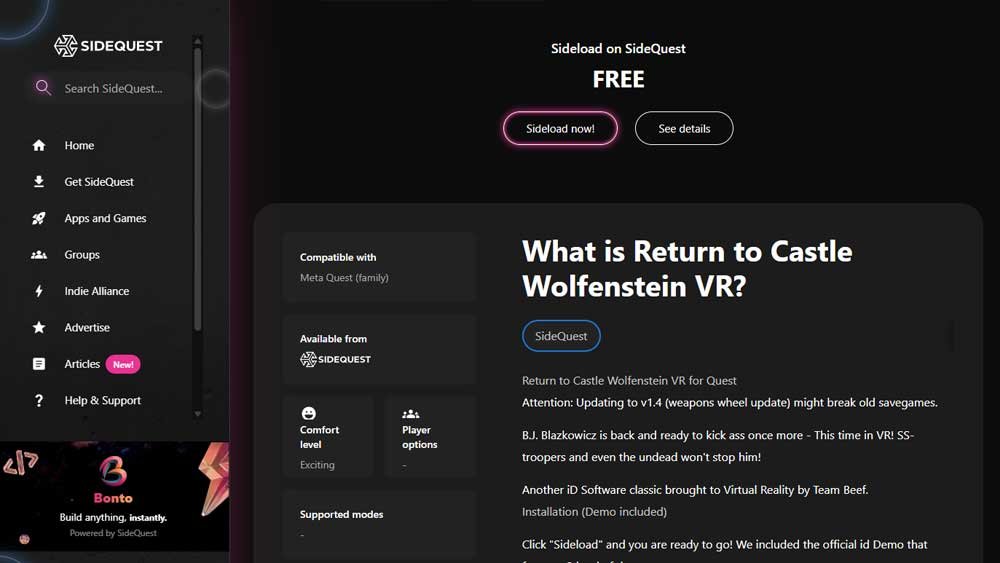
- SideQuest Store Page (APK 1.4.1): SideQuest – Return to Castle Wolfenstein VR
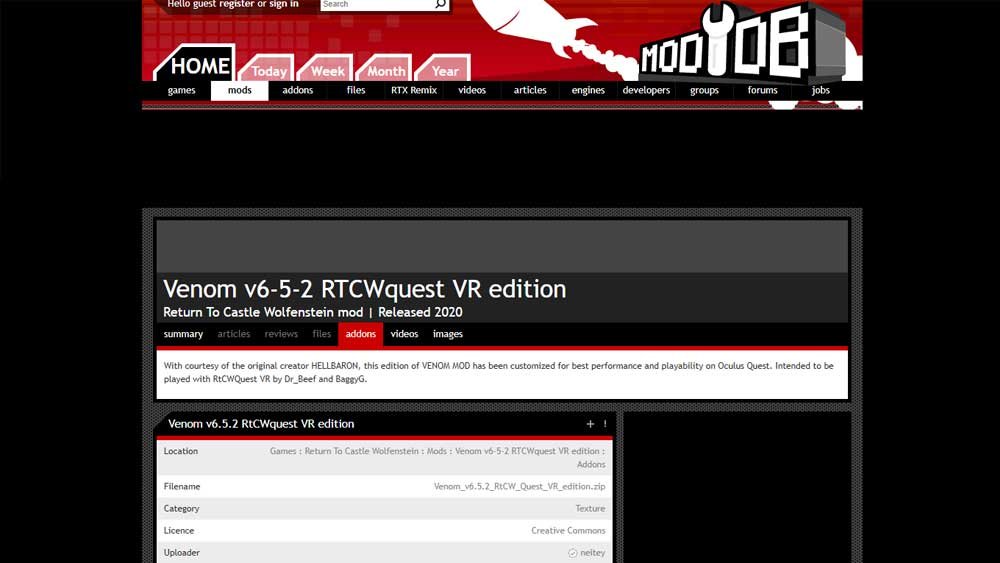
- Venom Mod Page (VR Version): ModDB – Venom Mod v6.5.2 RtCWQuest VR Edition
- Buy the Original Game: Steam Store – Return to Castle Wolfenstein
Prerequisites & Important Notes
- Supported Headsets: Native standalone support for Oculus/Meta Quest devices.
- SideQuest Desktop App: Required to install
rtcwquest-1.4.1.apkand transfer game files. - Legitimate Copy of RTCW: The base APK only contains the shareware demo. Full campaign access requires files from an installed PC copy.
- Transfer Warning: Do not transfer files using Windows File Explorer directly to your Quest. Android/Windows file systems frequently cause cache sync bugs. Always use the built-in SideQuest file transfer tool.
Step-by-Step Installation Guide
Step 1: Install RTCWQuest (v1.4.1)
- Connect your Quest to your PC via USB cable and launch SideQuest.
- Download and install RTCWQuest (
rtcwquest-1.4.1.apk) through the SideQuest store or by dragging the APK directly into the app interface.
Step 2: Generate the Quest Directories
- On your Quest, navigate to your App Library, switch the dropdown to Unknown Sources, and launch RTCWQuest for the first time.
- The app will launch into the demo version and automatically create the required
/RTCWQuest/Main/folder on your headset’s internal storage. - Close the game.
Step 3: Transfer Full Game Files
- On your PC, locate your RTCW installation directory (Steam default path:
C:/Program Files (x86)/Steam/steamapps/common/RTCW/). - Open the Main folder on your PC.
- In SideQuest, open the File Manager tab and navigate to the headset directory:
/RTCWQuest/Main/. - Copy the following
.pk3files from your PC into the headset’s/RTCWQuest/Main/folder:pak0.pk3sp_pak1.pk3sp_pak2.pk3sp_pak3.pk3sp_pak4.pk3
Troubleshooting Tip: If /RTCWQuest/Main/ does not show up in SideQuest’s File Manager, restart your Quest headset while keeping SideQuest running on your PC.
HD Textures & Enhanced AI (Venom Mod v6.5.2)
To upgrade the visual quality and scale textures for high-resolution VR displays, use the Venom Mod v6.5.2 RtCWQuest VR Edition.
- Download the Mod: Head to the Venom Mod v6.5.2 page on ModDB and download the archive.
- Unpack: Extract the
.zippackage on your PC. - Install Textures: Copy all
.pk3files inside theVenom Mod - RtCWquest editionfolder to/RTCWQuest/Main/on your Quest (overwrite existing files if prompted). - Enhanced AI (Optional): To make enemy AI more lethal and reactive, copy
sp_vpak9.pk3(located in theImproved Aifolder) to/RTCWQuest/Main/. If the difficulty spikes too much later, simply delete this specific.pk3file to restore original AI behaviors.
VR Controls Guide
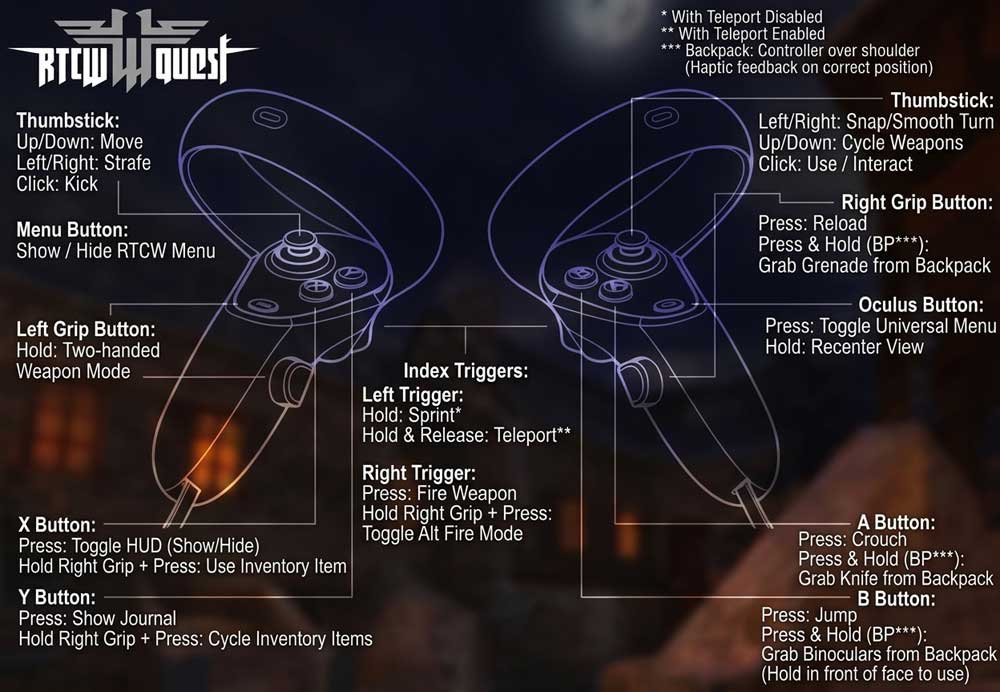
Backpack & Quick Slots Reach over your shoulder (out of your line of sight) and hold the following buttons to draw items instantly:
- Dominant Hand:
- Button A (or X for left-handed): Combat Knife
- Button B (or Y for left-handed): Binoculars (bring to your face and press the trigger to zoom)
- Grip Button: Grenades or Dynamite (release the trigger mid-throw to release)
- Off Hand:
- Button X (or A for left-handed): Quick Save
- Button Y (or B for left-handed): Quick Load
Combat & Weapons
- Sniper Rifles & Scopes (Mauser / FG42): Grip the weapon with both hands (hold off-hand Grip) and bring the scope to your eye to engage precision mode. Adjust zoom levels using the thumbstick. (Movement speed drops to one-third while scoped).
- Combat Knife: No attack buttons required—swings and thrusts depend entirely on your physical hand movements.
- Mounted Machine Guns (MG42): Aim using your head movement (gaze directional aiming), fire with the trigger, and press the interaction button to mount or dismount.
Comfort & VR Settings (Access via: Pause Menu $\rightarrow$ Controls)
- Left-Handed Mode: Full native support—toggleable directly in the menu.
- Laser Sight: Can be enabled for easier, hip-fire targeting.
- Motion Sickness Prevention (VR Legs): Teleport movement is available. Snap turn can also be switched to smooth turn by reducing rotation values.
- Height Adjustment: Recalibrates eye-level position for seated play sessions.
Frequently Asked Questions (FAQ)
- Does this port support VR Multiplayer?No. RTCWQuest is strictly built for the single-player campaign.
- Is RTCWQuest an official software release?No. RTCWQuest is an open-source modification and port developed by Team Beef (built on the idTech3 engine) and is not officially affiliated with Bethesda or id Software.

![Read more about the article Elden Ring: Where to Find Smithing Stone [6]](https://qgreloaded.com/wp-content/uploads/2026/09/Elden-Ring-Smithing-Stone-6-300x169.jpg)