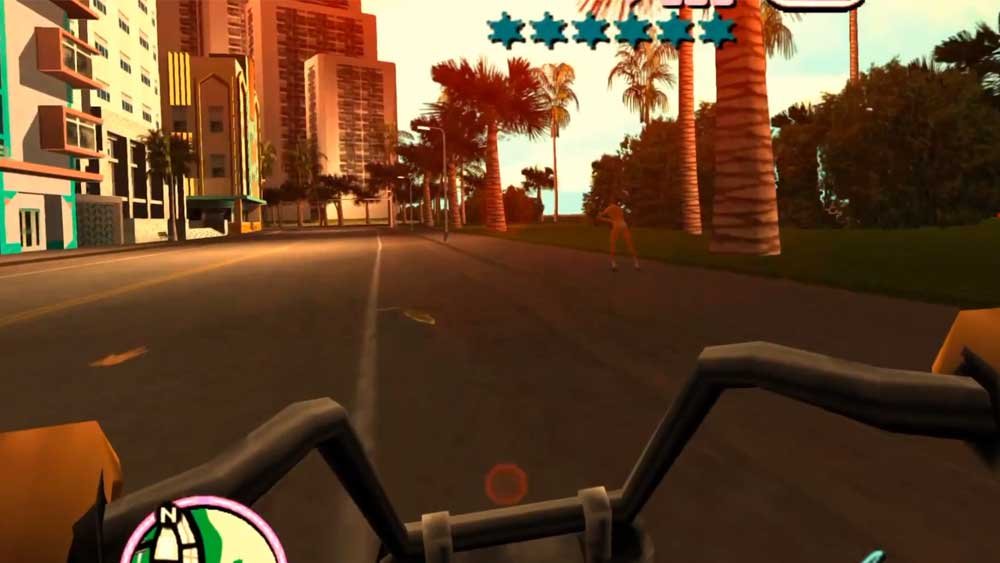
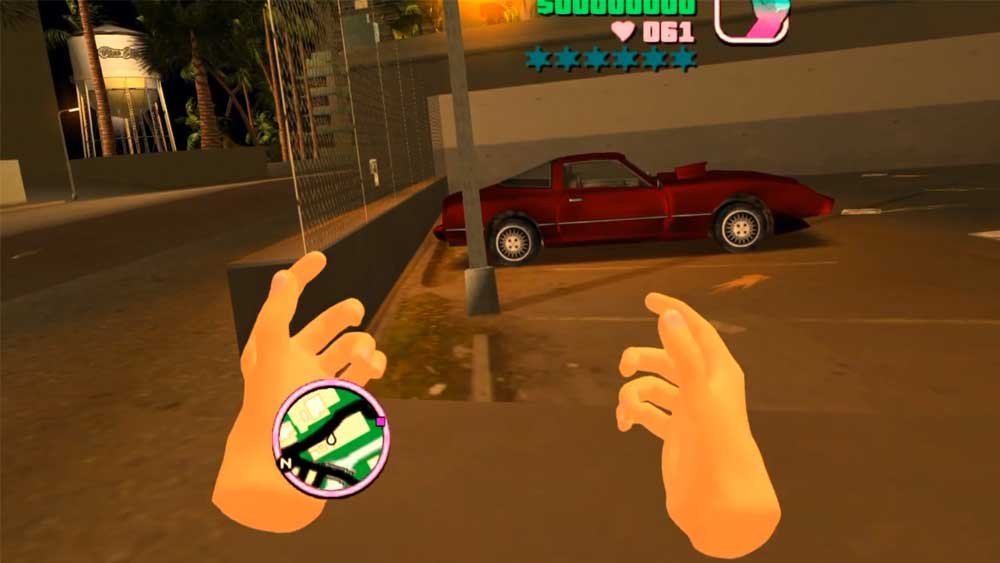
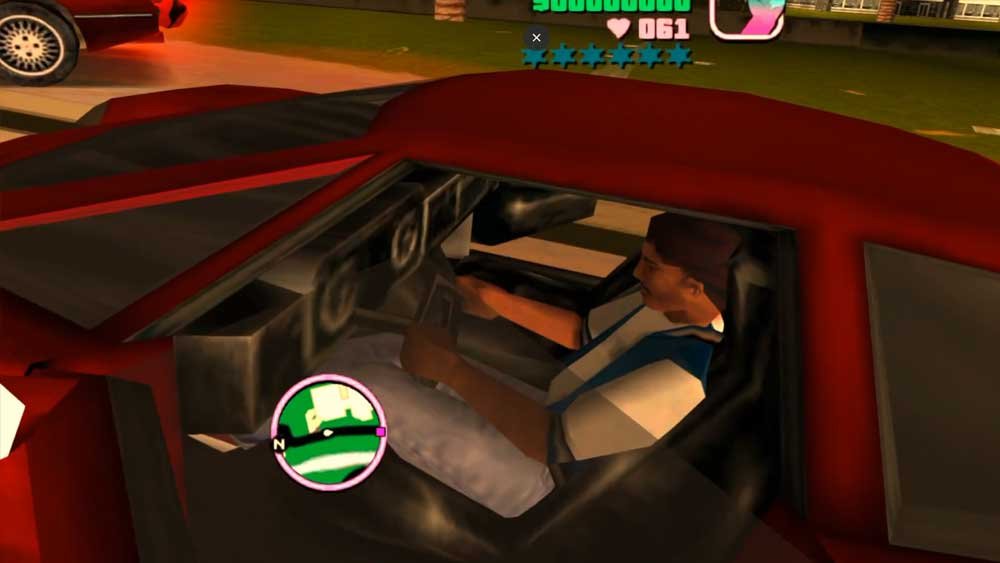
The dream of walking down the sun-soaked streets of Vice City in fully untethered virtual reality is now a reality. Thanks to the work of developer Yevhen Dubrovskiy (dubrovskiy-yevhen-stakelogic), the Vice City VR Quest project allows you to run Rockstar’s classic title natively on your Meta Quest 3.
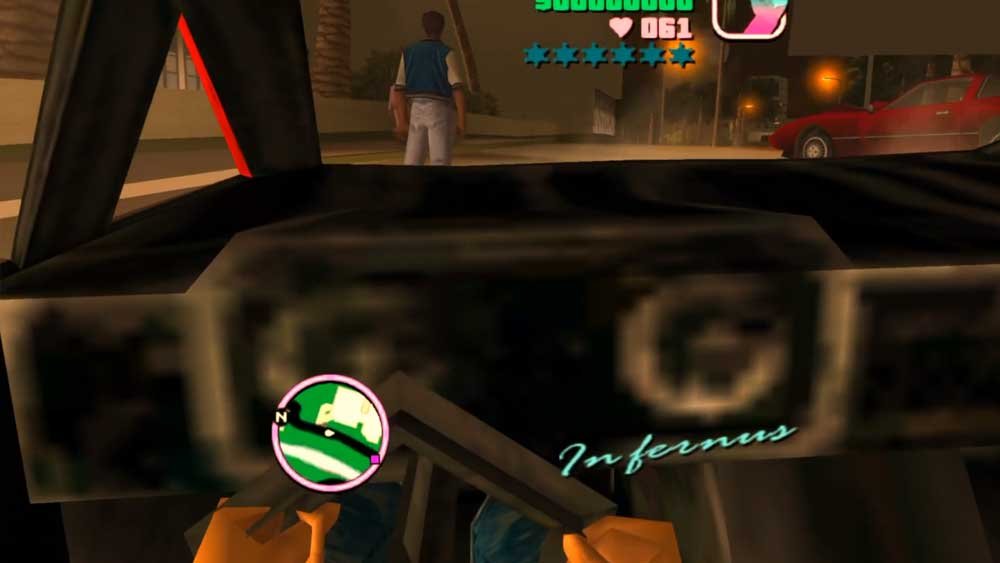
Check out the complete step-by-step guide below to perform the manual installation safely and access the official files.
Credits & Official Links
- Developer: Yevhen Dubrovskiy (dubrovskiy-yevhen-stakelogic)
- Project Repository:
[github.com/dubrovskiy-yevhen-stakelogic/vice-city-vr](https://github.com/dubrovskiy-yevhen-stakelogic/vice-city-vr) - File Download Page (Releases):
[github.com/dubrovskiy-yevhen-stakelogic/vice-city-vr/releases](https://github.com/dubrovskiy-yevhen-stakelogic/vice-city-vr/releases)
Prerequisites Before you begin, make sure you have the following items and configurations saved on your computer:
- Device: Meta Quest 3 with Developer Mode enabled.
- Computer: Windows PC and a USB data transfer cable (avoid charge-only cables).
- Software: SideQuest Desktop (Advanced Installer version) installed on your PC.
- Base Game: A legally owned, original PC copy of GTA: Vice City (2003).
Step-by-Step Installation Guide
1. File Download & Preparation
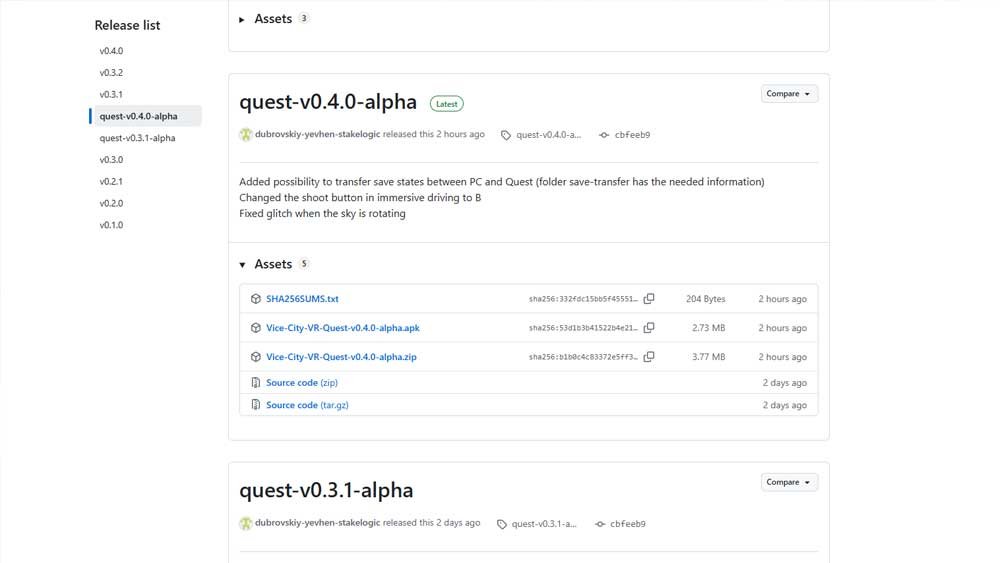
- Access the GitHub releases page and download the
Vice-City-VR-Quest-v0.3.1-alpha.zipfile. - Extract the contents of the
.zipfile into an easily accessible folder on your PC.- ⚠️ Warning: Never transfer the raw
.zipfile directly to your Quest’s internal storage.
- ⚠️ Warning: Never transfer the raw
2. Connecting Your Headset
- Connect your Meta Quest 3 to your PC using a USB data cable.
- Put on the headset and accept the Allow USB Debugging prompt on the screen.
- Open SideQuest on your PC and ensure the connection status dot in the top-left corner is green.
3. APK Installation
- In SideQuest, click the Install APK file from folder option (folder icon with a down arrow).
- Select and install the
Vice-City-VR-Quest-v0.3.1-alpha.apkfile. - On your Quest 3, navigate to Unknown Sources / Developer Apps and launch Vice City VR once. Close the app immediately after it starts (this automatically creates the required folder structure on your headset’s internal storage).
4. Game Data Transfer
- On your PC, open the folder where you extracted the VR version files.
- Open the Command Prompt (CMD) inside this folder (Tip: Type
cmdinto the Windows Explorer address bar and press Enter). - Run the following command, replacing the path with your PC’s original GTA: Vice City installation directory:
DOS
install-game-data.bat "C:\Path\To\Grand Theft Auto Vice City"
- Keep your headset connected until the script displays the message:
Game data installation complete.
Ready to Play!
Once the installation is confirmed, re-launch Vice City VR from the Unknown Sources menu on your Quest 3.
- Fully Standalone Performance: The installer only copies the required game assets from your PC installation. While the base game is not included with the mod, once setup is finished, you no longer need a PC, Quest Link, Air Link, or SteamVR to play. The game runs 100% natively on your headset!
How to Update the Mod When new updates are published on GitHub:
- Install the new APK directly over your existing installation via SideQuest.
- ⚠️ DO NOT uninstall the previous version! Performing a standard system uninstall will delete all transferred game files and permanently erase your save files.