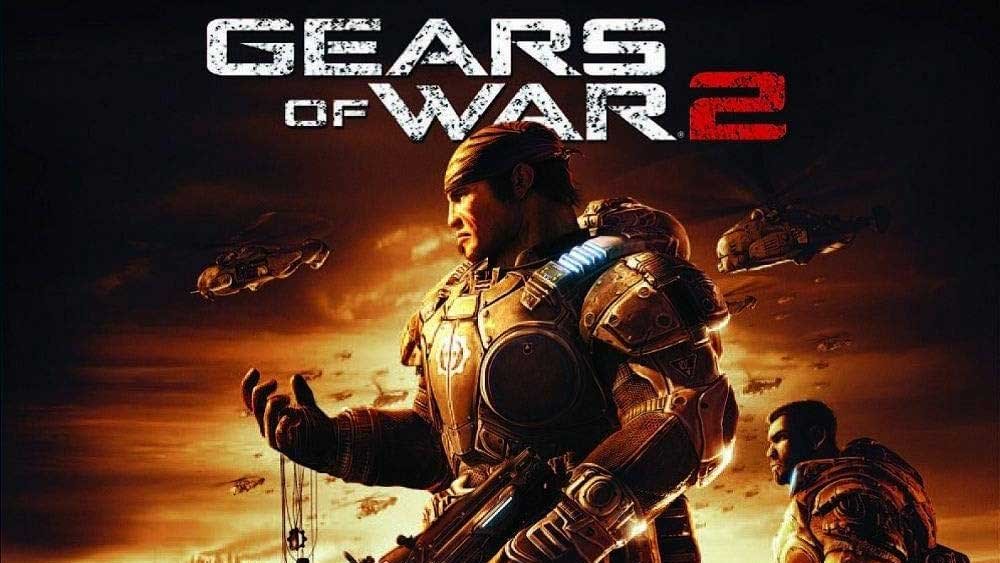
Forget complex setups for heavy emulators like Xenia. Thanks to the community project Gears of War 2: Hollow (Gow2Hollow), playing this Epic Games classic natively on Windows has become an extremely simple process.
Using code recompilation technology, the project transforms the original files into a stable PC executable with high performance, controller support, and zero headaches.
If you want to jump straight into the action and run the game on your computer, check out this simplified step-by-step guide to installing the native Gears of War 2 port.
Quick Installation Summary
| Feature | Details |
|---|---|
| Project | Gears of War 2: Hollow (Gow2Hollow) |
| Platform | PC (Windows) — Port Nativo (Sem Emulador) |
| Performance | 60 FPS+ e suporte a resoluções altas |
| What do you need to download? | Launcher Oficial + Arquivo GoW2Hollow.zip (ModDB) |
What You Need to Download
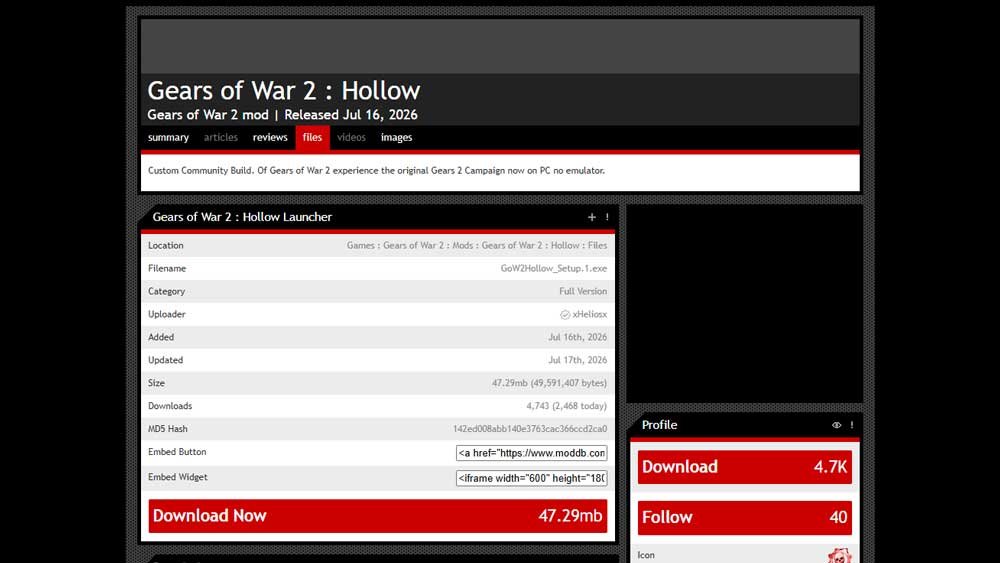
To complete the installation, you will only need two essential files located on the project’s official ModDB page:
- The Installer: The official launcher executable.
- The GoW2Hollow.zip File: The package containing the converted game files required for setup.
Step-by-Step to Install Gears of War 2 on PC
- Download the Installer: Access the official download page on ModDB via the Gears of War 2: Hollow Launcher.
- Get the ZIP File: On the same community page, make sure to download the
GoW2Hollow.zipfile. - Run the Installation: Open the launcher installer. During the process, it will request the game files. Simply point the installer to the
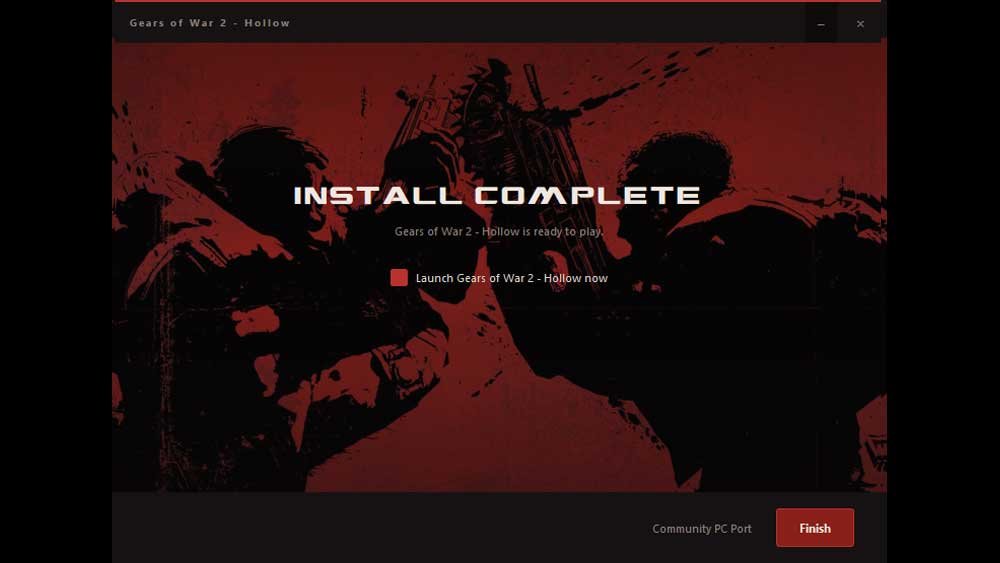
GoW2Hollow.zipfile you downloaded. The system automatically detects everything and handles the setup on its own. - Ready to Play: Once the process finishes, the launcher will open the main interface. Just choose between playing offline (“Play Offline”) or integrated with your account (“Play on Steam”).
Available Features in the Launcher
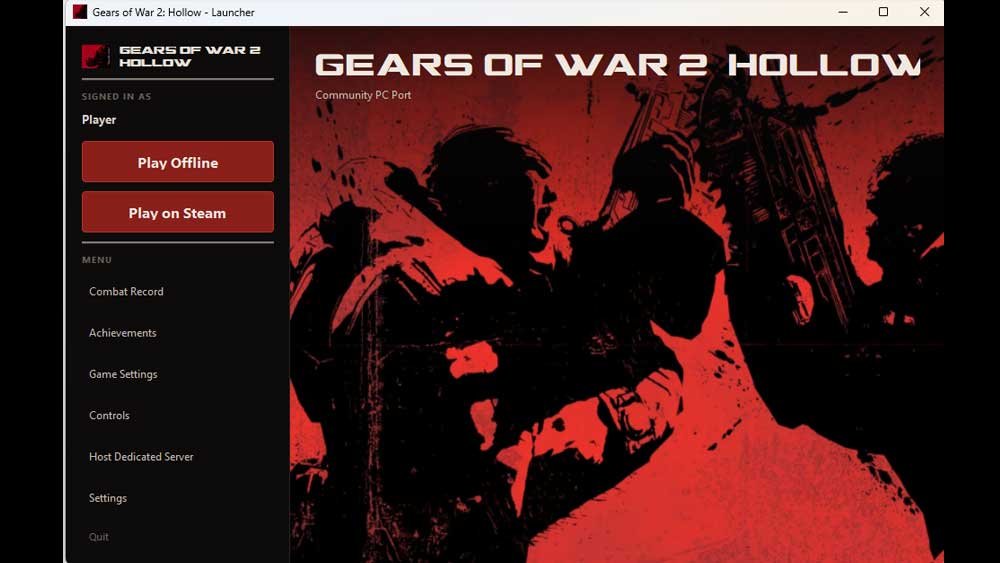
The official Gow2Hollow interface acts as a complete hub for the game on PC, featuring a very intuitive side menu:
- Combat Record: Track your combat stats and in-game progress.
- Achievements: An integrated achievement system for trophy hunters.
- Game Settings & Controls: Dedicated menus to adjust graphics, audio, and controller mapping without needing to edit text files.
- Host Dedicated Server: A native option for those who want to host dedicated servers and play multiplayer matches with friends.
Bonus Tip: Solution for Black Screens or Resolution Issues
With no mystery and no endless configuration, the game runs smoothly at 60 FPS or higher. However, if you run into problems with full-screen mode or audio glitches when changing resolutions in the menu, use this trick:
- Go to the folder where the game was installed on your PC.
- Look for the configuration file named
DefaultEngine.ini. - Open it with Notepad and manually edit the resolution lines to lock the values corresponding to your monitor (e.g., 1920×1080 or 2560×1440).
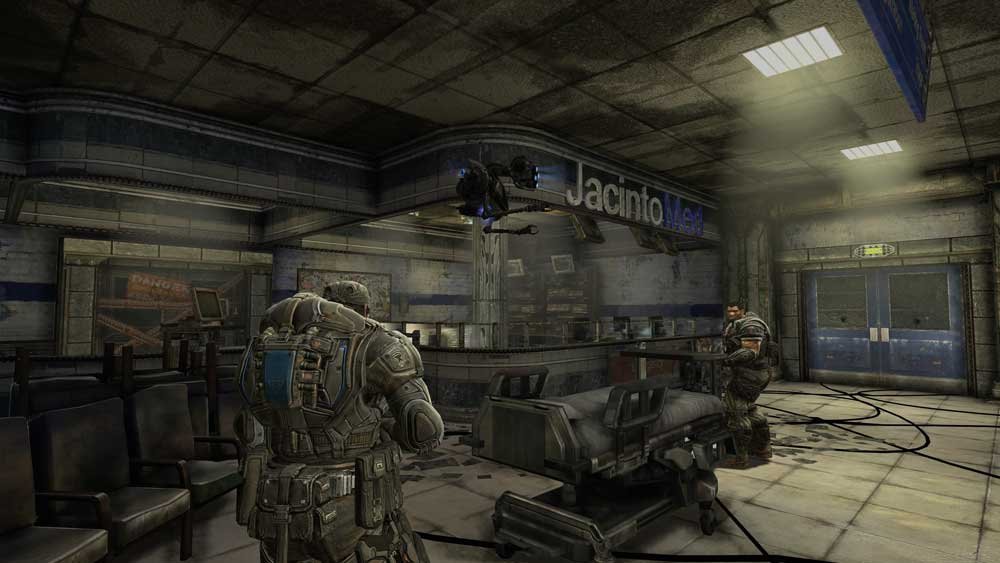
Done! With these steps, you will have one of the greatest Xbox exclusives in history running directly on your PC, with the smoothness and performance the franchise has always deserved.