
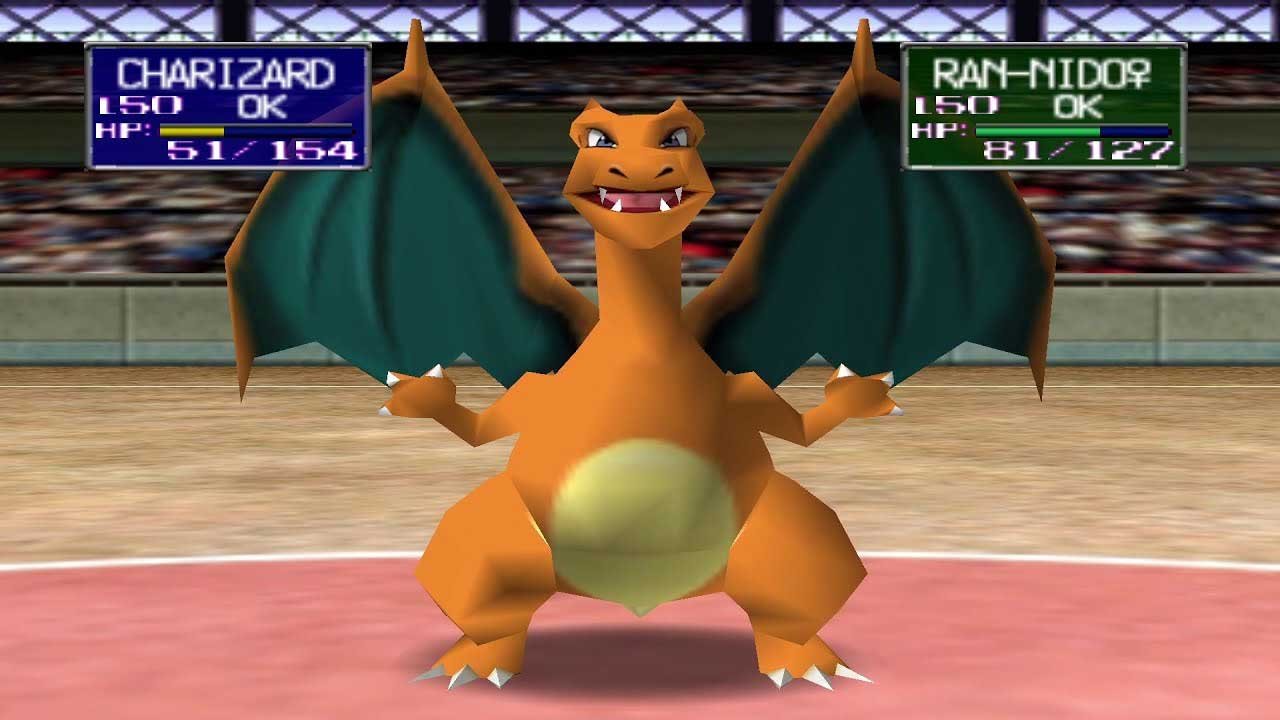
The legendary Pokémon Stadium, originally released for the Nintendo 64 in 1999, has just received a historic second life at the hands of the community. Independent developers have launched Pokémon Stadium Recomp (known by the codename SS Anne), a reverse-engineering project that natively rebuilds the game for PC.

Unlike traditional emulation—which often suffers from audio bugs, texture glitches, and input lag—this project converts the console’s original binary code directly into C language. The result is a game that runs exceptionally smoothly, featuring native support for 4K resolutions, 60 frames per second (60 FPS), and full compatibility with modern controllers.
However, the project’s biggest highlight is its support for the Virtual Transfer Pak. This means players can connect their save files from classic Game Boy games (Pokémon Red, Blue, and Yellow) to battle in the colosseum using the exact monsters they trained during their childhood.
Step-by-Step Guide: How to Install and Set Up Pokémon Stadium on PC
Because the project does not distribute any Nintendo copyright-protected files, you will need to provide your own digital backup copies of the games (.z64 and .gb files) for the tool to work. Follow the step-by-step instructions below to get started:
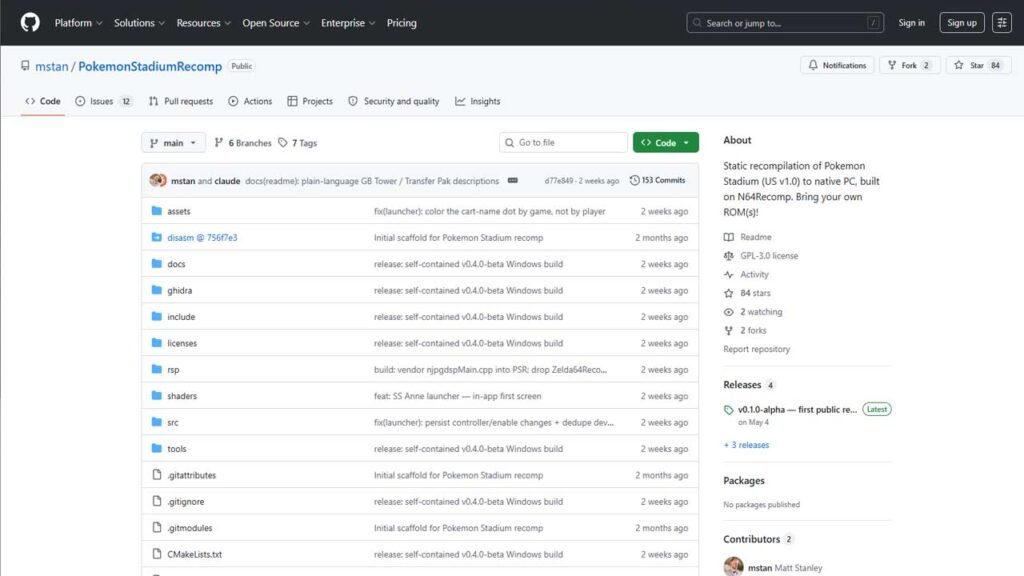
Step 1: Download the Official Launcher
- Access the project’s official GitHub repository (search for N64Recomp or Pokémon Stadium Recomp).
- Under the Releases tab, download the latest installer version compatible with your operating system (Windows or Linux).
- Install the program on your computer.
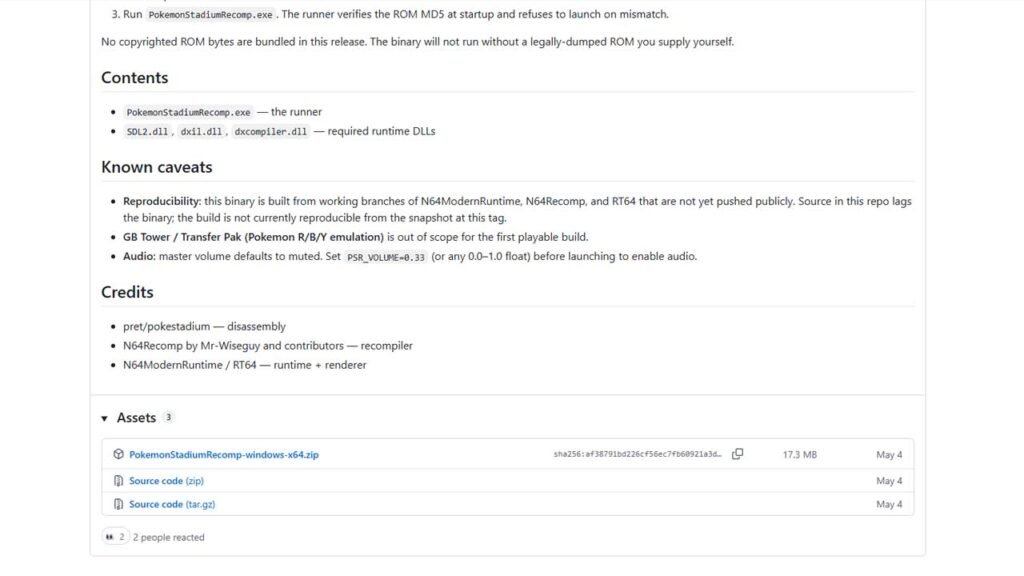
Step 2: Load the Nintendo 64 ROM
- Open the installed launcher.
- The program will prompt you for the original game file. Click “Browse”.
- Select your Pokémon Stadium (N64) ROM file on your computer. The system will process the file and generate the native port in just a few seconds.
Step 3: Configure Your Controller
- In the launcher’s main menu, click Settings and navigate to Input.
- Connect your controller (Xbox, PlayStation, or generic gamepad) via USB or Bluetooth.
- Map your controller’s physical buttons to match the classic N64 button layout (A, B, Z Trigger, and C-Buttons).
Step 4: Use Your Game Boy Pokémon (Optional)
- In the game setup menu, locate the Transfer Pak tab.
- Enable the option for “Player 1”.
- Click Select File and point to your Pokémon Red, Blue, or Yellow ROM or save file (.sav).
- Launch the game. When you enter battle mode, your original Game Boy Pokémon will appear ready for action right on your PC screen!