
In our previous guide, you learned the core rules of block placement and geometric management. Now, it is time to take the next step. To break the 10,000-point barrier, you need to master the score multiplier and learn how to survive when board space runs out.
I. The Math Behind Combos: Why Consistency Beats Big Clears
Many players make the mistake of hoarding blocks to clear four lines simultaneously. In Block Blast, your true high score comes from maintaining an unbroken clearing streak.
- Progressive Multipliers: Clearing a single line on consecutive turns keeps your score multiplier climbing exponentially.
- Gameplay Rhythm: Clearing one line per move yields significantly more points than hitting a four-line clear and following it with three empty turns.
- Visual Setup: Always leave at least one line nearly complete to trigger an easy clear on your next turn.
II. Board Patterns for Continuous Combos
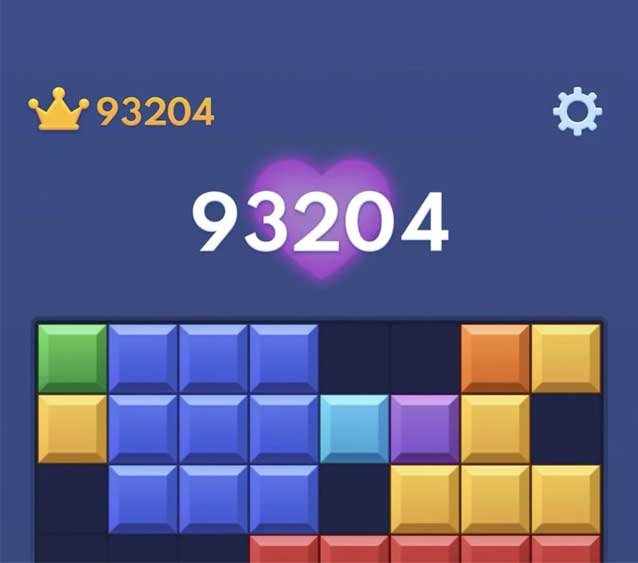
To score continuously, keep your grid layout dynamic. Build strategic contours across the board that facilitate line clears turn after turn.
- The Staircase Pattern: Position blocks diagonally to create stair-step elevation. This layout ensures almost any incoming shape—single tiles, L-pieces, or 2×2 blocks—can lock in and trigger a line clear to preserve your streak.
- The Dual-Trigger Setup: Set up clear-ready lines in opposite corners of the grid. If incoming pieces do not fit the left setup, clear the right trigger instead. This serves as a critical safety net for maintaining your score multiplier.
III. Emergency Protocol: Saving a Critical Board State
Panic destroys record runs. When your grid reaches 90% capacity, follow this step-by-step reset protocol to recover:
- Identify High-Risk Zones: If you lack space for a 3×3 block, you are one bad draft away from a Game Over.
- Sacrifice the Combo Multiplier: Drop your streak priority instantly. Clear any available line immediately to free up grid real estate, even if it resets your multiplier counter.
- Clear Center Islands: Target isolated blocks stuck in the middle of the board. Central clutter blocks mid-sized pieces and leads to sudden losses.
IV. Central Placement Risk Index
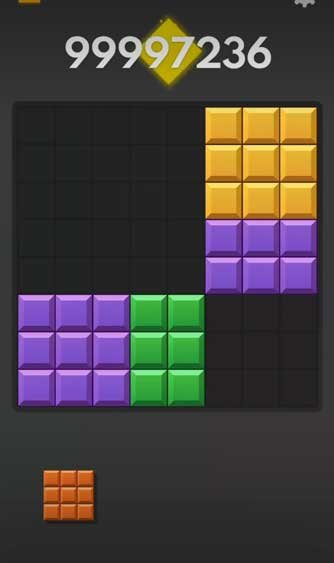
Keep the center of your board clear at all costs. Stacking blocks in the middle drastically shrinks your available tile slots and reduces overall move options.
| Board Zone | Risk Level | Gameplay Impact |
| Dead Center | Critical | Blocks board vision and splits the grid into four unusable quadrants. |
| Baseline (Bottom) | Medium | Limits clearance for tall vertical pieces, but provides easy setup for horizontal clears. |
| Top Corners | Low | Ideal location to “park” bulky square blocks while clearing the rest of the board. |